
Named entity recognition (NER) is used for information extraction that seeks to locate and classify named entities in text into predefined categories such as the names of persons, organizations, locations, expressions of times, quantities, monetary values, percentages, etc. NER is used in many fields in Natural Language Processing(NLP), and it can help answering many real-world questions, such as:
- Company names mentioned in the article/text?
- Are there any products mentioned in complaints or reviews?
- Does the tweet contain any names of a person/companies? Does the tweet contain this person’s/company’s location?
This article will help understand and build named entity recognizers with NLTK and SpaCy, to identify the names of things, such as persons, organizations, or locations in the raw text. Let’s get started!
What is Named Entity Recognition?
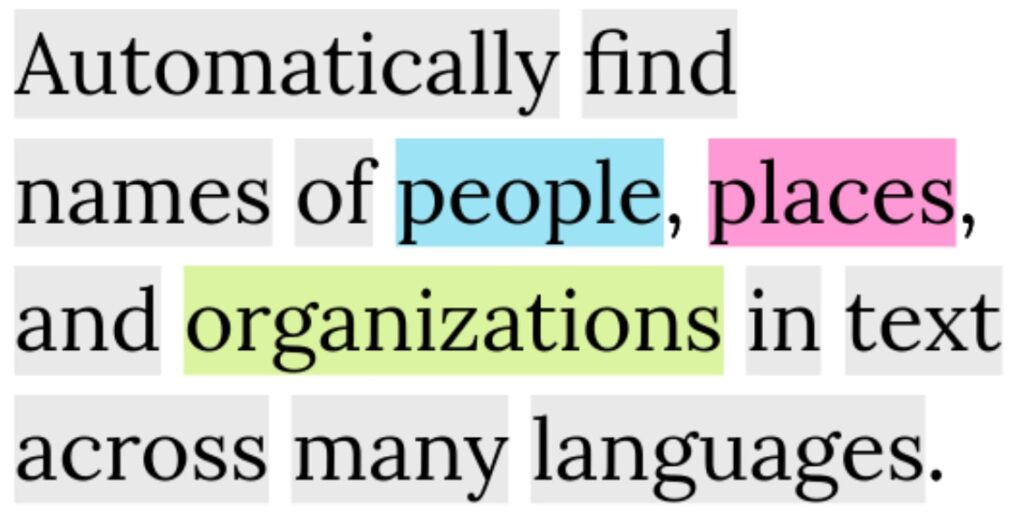
Named entity recognition (NER) helps you easily identify the key elements in a text, like names of people, places, brands, monetary values, and more. Extracting the main entities in a text helps sort unstructured data and detect important information, which is crucial if you have to deal with large datasets.
Application of Named Entity Recognition?
Categorizing Tickets in customers support, Customer feedback, Analyse resumes, etc.
Library we can use?
- SpaCy 2. Natural language Toolkit (NLTK)
Steps to set up Spacy and running our first basic Named Entity Recognition python code.
1. Installing Spacy
Install Spacy by “pip install spacy” command. For Mac use “pip3 install -U space”. If you are stuck and the above install method is not working for you. You can refer to this “click here” for more help.
2. Installing other dependency
Run this command “python -m spacy download en-core_web_sm”. For Mac use “python3 -m spacy download en_core_web_sm”. Both of them are almost the same use whichever works for you.
3. Sample code
A. Named Entity Recognition:
Understand the below code and save it as “named_entity_recognition.py”
#!/usr/local/bin/python3
import spacy

nlp = spacy.load("en_core_web_sm")

sentence = "Indian Space Research Organisation (ISRO) will aim to touch new heights in 2020 as it is planning to launch around a dozen key satellite missions, highprofile interplanetary mission Aditya (sun) and first unmanned test-flight of the Gaganyaan mission carrying a humanoid next year."
doc = nlp(sentence)

for ent in doc.ents:
   print(ent.text, ent.start_char, ent.end_char, ent.label_)
Running code with “python3 named_entity_recognition.py”. Let’s see what we get:

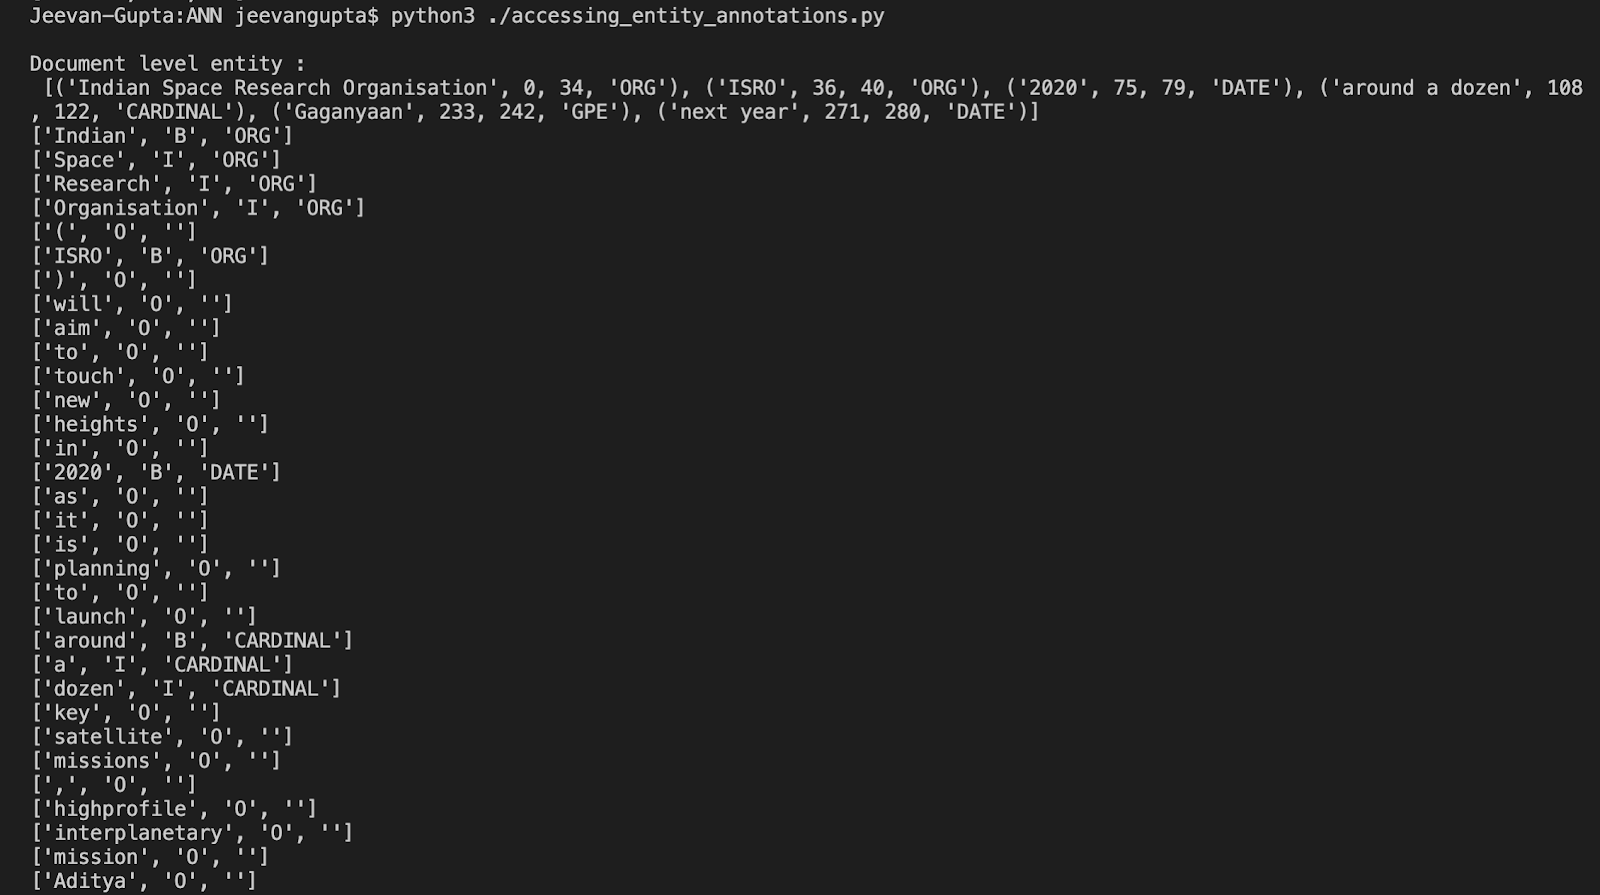
B. Access Entity Annotations
Another example which might help you understand things better. You can save it as “accessing_entity_annotations.py”
#!/usr/local/bin/python3
import spacy

nlp = spacy.load("en_core_web_sm")
sentence = "Indian Space Research Organisation (ISRO) will aim to touch new heights in 2020 as it is planning to launch around a dozen key satellite missions, highprofile interplanetary mission Aditya (sun) and first unmanned test-flight of the Gaganyaan mission carrying a humanoid next year."
doc = nlp(sentence)

# document level
ents = [(e.text, e.start_char, e.end_char, e.label_) for e in doc.ents]
print("\nDocument level : \n",ents)

# token level
print("\n Entity annotations")
for i,d in enumerate(doc):
   #token.ent_iob and token.ent_type used to access token entity annotations
   #token.ent_iob indicates whether an entity starts, continues or ends on the tag.
   entity = [doc[i].text, doc[i].ent_iob_, doc[i].ent_type_]
   print(entity)
Run the python file with “python3 accessing_entity_annotations.py”. Let’s see what we get:
Steps to step up NLTK and Running our first basic Named Entity recognition python code.
1. Installing NLTK
The Natural Language Toolkit (NLTK) is a Python package for natural language processing. Install nltk by “pip install nltk”.
2. Sample code
With below code we get a list of tuples containing the individual words in the sentence and their associated part-of-speech.Understand the below code and save it as “NER_with_nltk.py”
#!/usr/local/bin/python3
import nltk
from nltk.tokenize import word_tokenize
from nltk.tag import pos_tag

def preprocess(sent):
    sent = nltk.word_tokenize(sent)
    sent = nltk.pos_tag(sent)
    return sent

sentence = "Indian Space Research Organisation (ISRO) will aim to touch new heights in 2020 as it is planning to launch around a dozen key satellite missions, highprofile interplanetary mission Aditya (sun) and first unmanned test-flight of the Gaganyaan mission carrying a humanoid next year."
sent = preprocess(sentence)
print(sent)
Run the python file with “python3 NER_with_nltk.py”. Let’s see what we get:

Above code with additional information, to understand stuff better.
#!/usr/local/bin/python3
import nltk
from nltk.tokenize import word_tokenize
from nltk.tag import pos_tag
from nltk.chunk import conlltags2tree, tree2conlltags

def preprocess(sent):
    sent = nltk.word_tokenize(sent)
    sent = nltk.pos_tag(sent)
    return sent

sentence = "Indian Space Research Organisation (ISRO) will aim to touch new heights in 2020 as it is planning to launch around a dozen key satellite missions, highprofile interplanetary mission Aditya (sun) and first unmanned test-flight of the Gaganyaan mission carrying a humanoid next year."
sent_token = preprocess(sentence)
print("sentence token : \n",sent_token)

pattern = 'NP: {<DT>?<JJ>*<NN>}'
# create a chunk parser and test it on our sentence token
#cp -> chunk parser, cs -> chunk structure
cp = nltk.RegexpParser(pattern)
cs = cp.parse(sent_token)

#IOB tag are a way to represent chunk syructures in text
iob_tagged = tree2conlltags(cs)
print("\nIOB tags : \n",iob_tagged)

# nltk.ne_chunk() is used to recognize named entities using a classifier,
# This classifier adds category labels such as PERSON, ORGANIZATION, and GPE.
ne_tree = nltk.ne_chunk(pos_tag(word_tokenize(sentence)))
print("\n NER : \n",ne_tree)
For any suggestions or doubts ~ Get In Touch